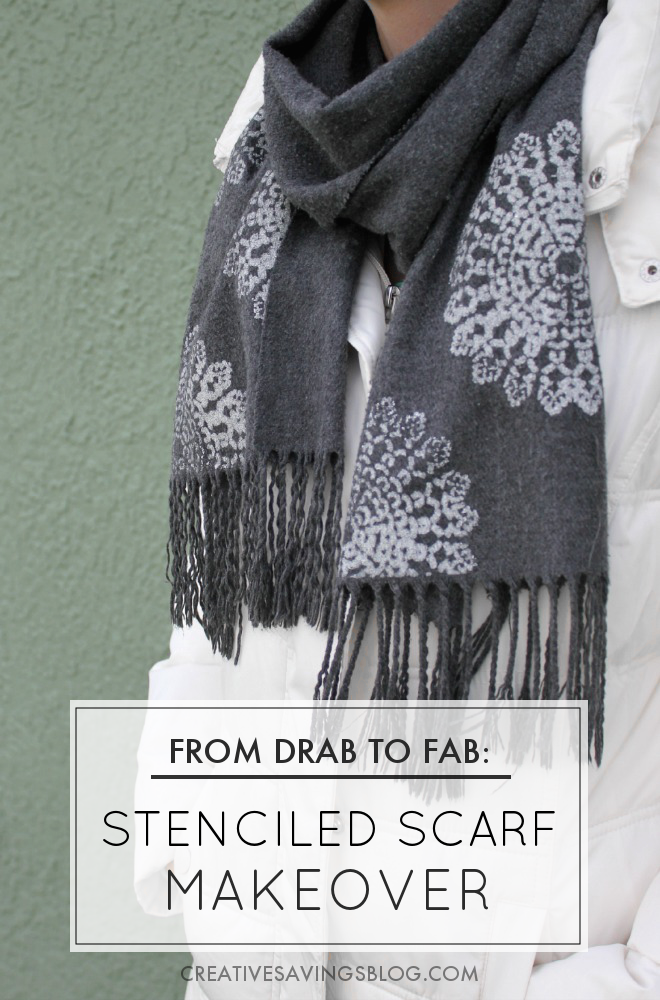
From Drab to Fab: Stenciled Scarf Makeover
This post may contain affiliate links. Read my full disclosure policy here.

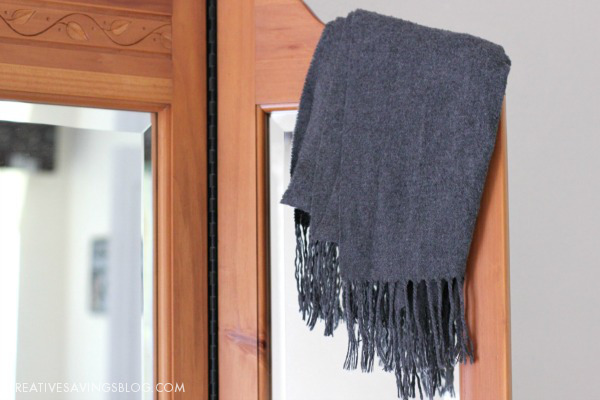
I’ve had this scarf for years {I actually think I first starting wearing it in High School!}, and it quickly became my go-to cozy staple during those brutal New York Winters. And while I rarely wear this scarf down here in Florida, I do still take it back with me when we visit family over the Holidays.
But I’m kinda, sorta, pretty much over how plain it is. My style has slowly evolved over the past 10 years, and I’ve been ready for something new and fresh.
When Lauren from The Thinking Closet invited me to participate in Scarf Week this year, {the blogosphere’s alternative to Shark Week}, I knew immediately what project I wanted to tackle. This scarf was finally going to get an upgrade!
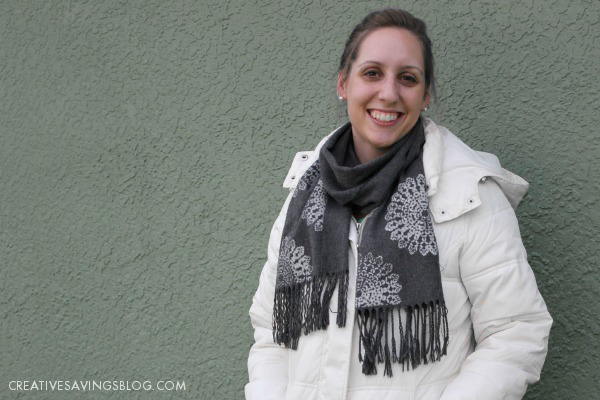
Despite some newbie fabric painting mistakes, I’m pretty thrilled with how the scarf turned out. It’s still my safe “go-with-anything-grey”, but with a bit more fun this time around.
If you have a plain accessory {or anything fabric, really} that could use a simple makeover, you don’t want to miss this technique. But be sure to stick around until the very end — you’ll find plenty more shark…er….scarf inspiration from my friends!
Supplies Needed:
- Plain scarf
- Fabric paint {or acrylic paint with textile medium}
- Stencil
- Painter’s tape
- Foam poster board
- Small paint roller
The Project:
Step 1: Smooth out portion of scarf that you want to stencil and use painter’s tape to adhere it to a foam poster board. This makes it really easy to paint on, and also catches any paint that might soak through the fabric.

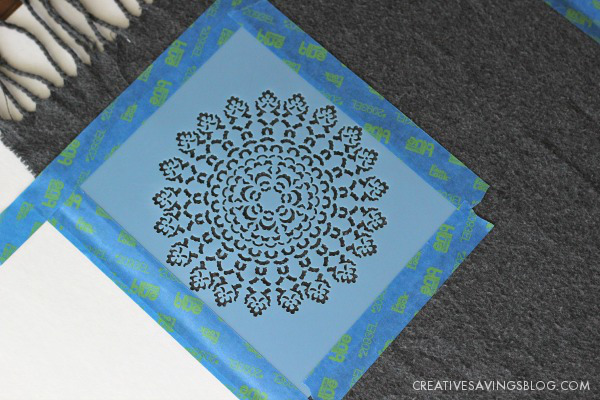
Step 2: Position stencil and use painter’s tape to adhere it to the scarf.
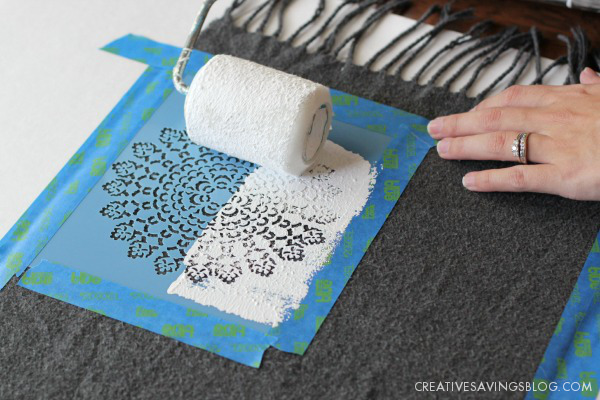
Step 3: Dip paint roller in paint, and with medium pressure, paint over the stencil.
Here’s where my first mistake came in. I bought and used the wrong kind of paint! I mean, it still worked, but this project would be even more awesome if I wasn’t such a rookie.
When I walked down the craft paint aisle, I just assumed it could all be used on fabric. They all came in the same shaped bottles anyway, so I bought the cheaper acrylic paint rather than put in the time and effort to make sure that was actually okay. *slaps forehead*
With a crispy outcome, I took to the web and realized I should have mixed the acrylic paint with a textile medium to turn it into fabric paint. Or I should have just paid a dollar more and bought the real stuff.
Alas, what’s done is done, but thankfully all is not ruined. The scarf is still wearable, and I found a few tricks to make it a bit softer. Ahhh, the scarfy drama!
Step 4: After all nooks and crannies of the stencil are painted, carefully, peel off painter’s tape and lift stencil off the scarf. Wash stencil and position again as many times as you want to repeat the design.

I found that I could only do two of the designs before they overlapped, so I waited 24 hours for the paint to dry before tackling my third and final design.
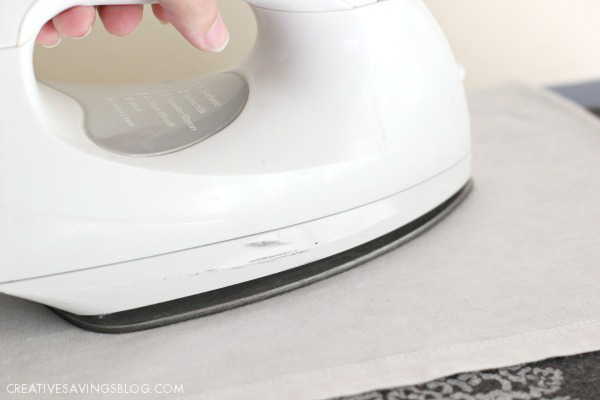
Step 5: Let all paint dry 24 hours, then set with an iron so paint doesn’t flake off in the wash. I first flipped the scarf over onto a t-shirt rag so any paint wouldn’t accidentally get on my ironing board, and ironed about 30 seconds over each spot from the back. Then I flipped the scarf back to it’s right side and placed the t-shirt rag over the design to iron the front side.
Step 6: Wait at least 24 more hours, then send through the washer and dryer. This helped my paint soften even more, and I’m hoping by the time it’s gone through a few more washes, it won’t be bad at all!
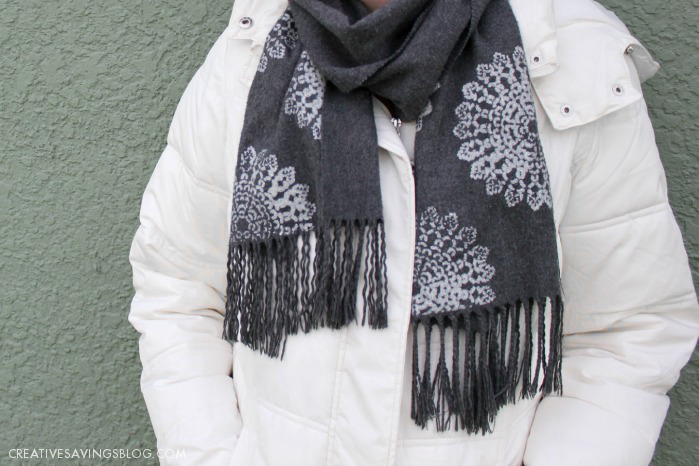
And yes, I totally dressed up in Winter garb to capture these final pics even though it was 90+ degrees outside. Now that’s sacrifice. #behindthescenes
Total Cost: $5.08
acrylic paint $2.54 | stencil $2.54 | all other supplies I had
I used 40% off coupons for the 2 supplies I bought at Michaels, but everything else came from my own stash. Not bad for a whole new look!
This stenciled scarf project has me thinking what other old things I have lying around that could use a makeover, especially since I know how to stencil on fabric with the right tools next time around. I’m thinking pillows, lamp shades, shirts….the possibilities are truly endless!
Do you have a piece that’s not your style anymore? Before you donate or throw it away, think about how you can give it an entirely new look with a little paint and pretty stencil!
Disclosure: Some of the links in the post above are affiliate links. This means if you click on the link and purchase the item, I will receive an affiliate commission. Regardless, I only recommend products or services I use personally and believe will add value to my readers. Read my full disclosure policy here.
I enjoyed browsing your page.
Could please send me some of your ideas. I have 6 great granddaughters and 2 great grandsons, if you have something for boys. Boys are babies, girls are = 2 very young and 2 are 9 and ten.
Thank you so very much.
I live so very far away from all of them.
I LOVE the stencil! I am loving all of the projects from Scarf week, this is definitely one of my favorites. I recently did a stenciling on a shirt using this same method, I love how great it looks when you take it off – almost screen printed! Pinning.
I was actually shocked at how much detail was left — I honestly thought it would result in a sloppy mess! Thanks so much for sharing!
BLESS YOUR HEART for your dedication in getting in a winter coat in the middle of summer!!! Thank you though for reminding me that I need to go back and heat set my Butterfly Infinity Scarf. Love this!
I was sweating like crazy! Glad it doesn’t show. 😉
I love the doily stencil you used and the fact that you wore a huge coat in the middle of Summer? That’s some dedication to your art! Thanks for joining Scarf Week!
Thanks so much for co-hosting!! It’s been so much fun.
so cute!!
I have SO much respect for you getting into winter gear in our scorching hot Florida summer weather. Now I can’t complain about my scarf photos taken in short sleeves. Lol.
Also, for the record, I think acrylic paint on fabric works almost as good if not just as good as acrylic with fabric medium. I’ve done both! But I kind of love how acrylic paint fades and softens over time…almost giving it a vintage look. So, maybe it was a happy accident?
Thanks so much for being a part of Scarf Week 2015, Kalyn. You rock (in so many ways). Off to pin!
You are so well-versed in the art of DIY, that I probably should have checked with you first to make sure I was doing everything right! But I’m glad to know that my mistake wasn’t as big of a mistake as I originally thought. 🙂 Thanks for hosting such a fun week!
Love the stencil! It really turned out great. 🙂
That is so cute! Make me one! PLEASE?! But in a light summer fabric!
This is too cute! I love scarf’s, i bet i have at least 30. I’m more of a cold weather type girl. Thanks for sharing!
What a fun and easy way to jazz up a plain scarf! Your stencil turned out great and the color combo is still neutral enough to be able to wear with a lot of different looks. I’ve enjoyed taking part in this Scarf Week event with you!
Neutral colors are my definite go-to, and although sometimes I wish I was more bold, at least I have lots of things I can wear it with. 🙂 I’m so glad Lauren decided to put on Scarf Week again — I’ve had too much fun!